Working Out Shaping
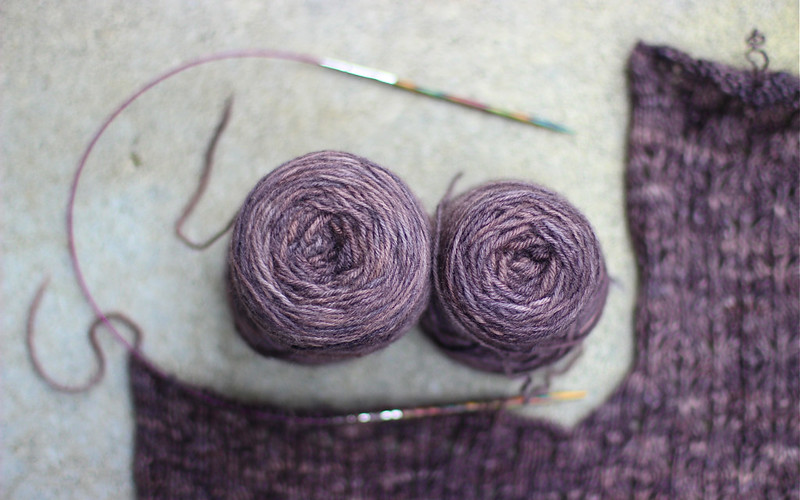
My groovy but long-suffering cardigan got a little love this week and I finally managed to get the back section off the needles. Unfortunately, my evening's work shaping the armhole and knitting a large part of the left side ended up looking less than perfect and I ripped it out the next morning.
Some designers walk you through shaping, row by row so there's no confusion. They tell you to decrease here, knit here and so on. But, it's very time-consuming to work this sort of detail out and often ends up with a "messy" pattern that's complicated to follow for lots of sizes, so many designers don't do it. They either tell you to decrease (or increase) while maintaining the stitch pattern, or they just instruct you to decrease (or increase) and expect you to know that you need to maintain your stitch pattern. Where they do either of the last two, then it's up to you to figure out how to keep your patterned background looking right and how to make sure you keep the correct number of stitches on your needle.
Don't panic, there is a knack to decreasing stitches for shaping on a patterned background so that your stitch pattern stays relatively in tact - but take it from me, it's not something that's easily done late at night. At least, not without having a wee think about it first.
Don't panic, there is a knack to decreasing stitches for shaping on a patterned background so that your stitch pattern stays relatively in tact - but take it from me, it's not something that's easily done late at night. At least, not without having a wee think about it first.
So, after my muddle this week, I thought it would be helpful to remind myself of the tricks to decreasing (and increasing) when you're knitting lace and I thought you might like to be reminded too.
My pattern includes yarn overs to increase stitches and double decreases to decrease stitches. No matter what your pattern, if your stitch count stays the same row to row, the long and the short of it is, the number of yarn overs needs to match the number of decreases so the number of stitches stays the same on each row. Sound easy enough? It sort of is - but it does require a bit of forethought. In fact, a pen and paper and a bit of planning can be really useful if you're really stuck.
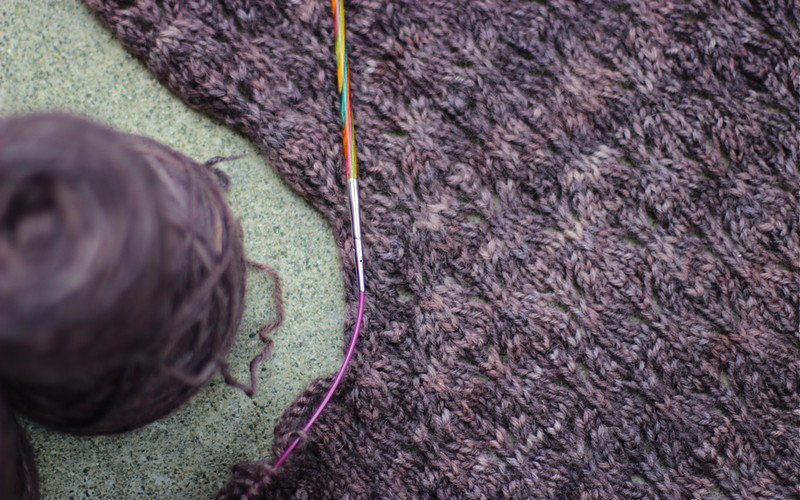
When I'm decreasing stitches at the beginning of a right side row several times to make the armhole curve, I'm eating into the yarn overs and double decreases on my row. My job is to keep track of how many are disappearing and where. Also, you don't want to end up with a yarn over or a decrease on the very edge stitch of your knitting so that's something to keep an eye on too. If it looks like that'll happen, switch it out for a plain stitch and adjust the rest of your row accordingly.

In the case of my cardy, my armhole decreases eat into either only one of my two yarn overs at a time or my double decrease, so I have to consider a few things. Firstly, where my shaping takes a single yarn over, I have to change one of my double decreases to a single decrease to even things up. Secondly, I have to whip out two yarn overs where I lose a double decrease to shaping. Thirdly, I have to keep an eye on where my remaining yarn overs and double decreases fall. Will they end up on the edge? Finally, since I'm knitting a cardy and one side of my knitting will form the front edge I'm aiming that all my adjustments to the stitch pattern will be on the armhole side. I want the front edge to stay the same so I can pick up my buttonband nice and neatly up later.
I'm itching to have another bash at my left side now my thoughts are clearer. So I'll head off to do that. In the meantime, I'll leave you with a link to a very eloquent tutorial by the clever Ysolda Teague on this very topic. She's got great graphics to make her point and she also talks about shaping in colourwork patterns too.
Have you got any more tips about shaping while working a patterned stitch? I'm all ears!