Tips & Tricks: Using PDF Sewing Patterns
I've generally steered away from pdf sewing patterns. Well, that's not entirely true. When I started sewing there was no such thing as the internet, let alone sewing patterns you could download. In my late teens and twenties I bought loads of paper patterns. I subscribed to the Vogue sewing magazine and bought everything that caught my eye with my hard-earned cash. In recent years, I haven't actually bought many new sewing patterns because more often than not I've adjusted those old patterns. When I've bought new patterns they were mostly paper patterns because that's what I'm used to. I've only used a few pdf patterns and two of those came with a Craftsy classes. So, when I bought the Moss skirt pdf pattern from Grainline Studios, I decided now was a good time to learn a thing or two about using pdf patterns.
I set about finding out everything I could. Since pdf patterns are available online I figured that was the best place to get information. I found a couple of really popular posts on using pdf sewing patterns*, tips and tricks from sewing bloggers and dozens and dozens of comments and tips written by "sewists" all over the world.
I noted everything down, especially where suggestions contradicted and got to work with my own pattern to see which suggestions I liked. Here's what I discovered:
PRINTING
- Turn off page scaling and set your print scale to 100% or "actual size". Don't click "scale to fit". You want to make sure you're printing off your pattern at exactly the size it was designed.
- One of the pages will include a test square, usually between 1 and 3 inches square. Print this page off first and carefully measure that it is the size it says it is. If it is a different size, check your page scaling again.
- Print your patterns in "draft" mode, it's quicker and uses less ink.
PREPARING THE PATTERN FOR CUTTING
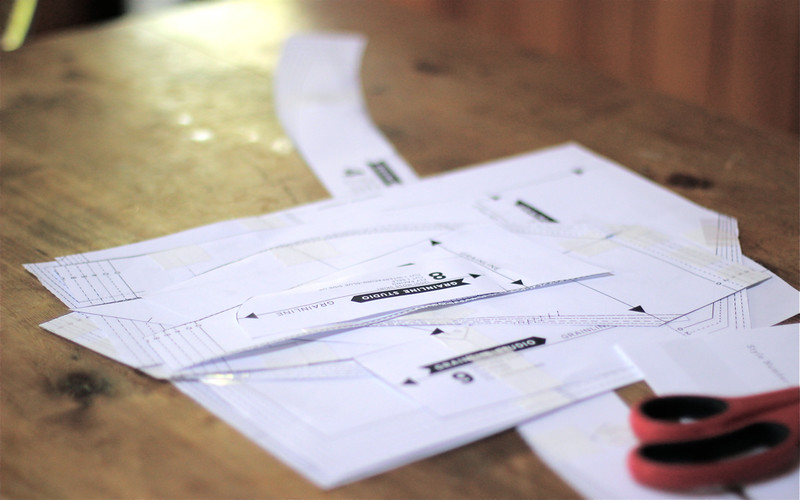
- When you print the pattern you'll see there are instruction pages and pattern pages. Gather together all the pattern pages.
- Trim off the left and top margins off all the pattern pages, you don't need to trim the bottom and right hand side margins. (If at this stage you want to work out which pieces will lie at the top and left side you can also leave these ones). Some people suggested folding the sides down instead of trimming them. I preferred cutting them off, it's fast and accurate.
- I used scissors but lots of people recommend using an old rotary cutter and a quilting ruler. I didn't try either because I don't have them but it sounds like a great idea.
- The pattern pieces will usually be printing with an alpha-numeric system. That is, numbers and letters. You job is to match up the numbers and letters. Either, lay all the pieces out so that the numbers and letters match up, or match them one by one and get on with the next step. There should be a schematic or "taping key" included with the pattern which will give you a guide as to how the pieces look when they're all joined up. I rather liked getting them roughly organised before I started.
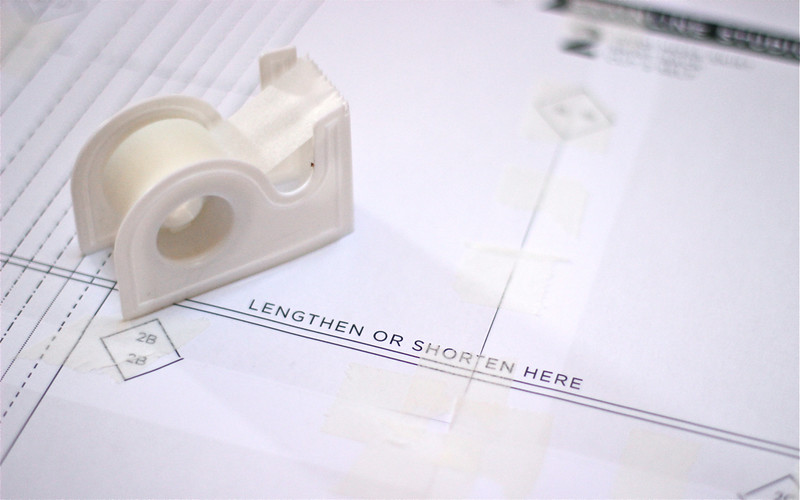
- Line up two adjoining pages as straight and as flat as possible and tape them together. I tried a glue stick but thought tape was more secure. Use lots of small squares of tape to join the pieces rather than one long strip. Not only is it cheaper but I think it's more accurate. Having said that, a little inaccuracy isn't the end of the world here.
- A tape dispenser is really useful at this stage!
- Matt tape is iron-friendly so if you iron your pieces flat you might consider using either masking tape, a matt washi tape or medical tape. I used some medical tape until I realised I'd likely empty the medicine kit and resorted to plain old sticky tape which was fine. I'm not planning to iron my pieces.
- Tape is stronger if fixed diagonally to the join and be sure to reinforce areas where three or more pieces come together.
- You only need to tape the areas inside your pattern pieces but if you can't quite work out where that is at this stage, no matter.
CUTTING OUT YOUR PATTERN
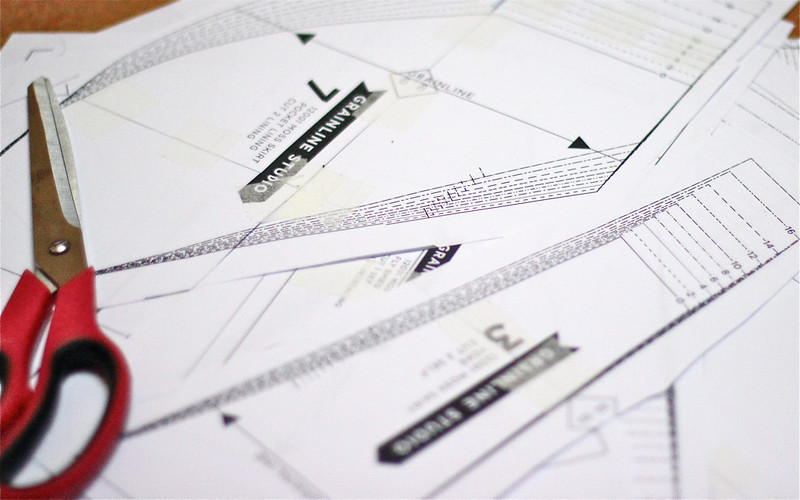
- Firstly, you don't need to cut out your pattern pieces. Feel free to trace your pieces onto paper if that's what you usually do.
- I roughly cut out a couple of pieces as soon as they were completed and then cut them more accurately at the end but preferred sticking the whole lot together and then cutting each piece out. There's no right way of doing this, just make sure you've got the right joined together if you're roughly cutting out as you go!
- I used scissors but again, an old rotary cutter could do this too.
- Once all your pieces have been assembled and cut out, secure the cut edges and then flip them over and secure the joins on the back.
USING YOUR PATTERN PIECES
- Use the pattern pieces them as you would a regular pattern.
- I used weights to hold the pieces down on my fabric rather than pins which are harder to use with thick paper and tend to bend.
STORING YOUR PDF PATTERNS
I rather like these ideas:
- Folded into zip lock bags
- Rolled and stored in a tube or secured with a rubber band. Rolled patterns can be stored standing upright in a box.
- Hang on clip clothes hangers.
- Punch a hole in a corner of each piece and the instructions and tie them together with yarn, bakers twine or a metal ring. These patterns could be hung on a hook.
- Fold and store in a plastic sleeve in a ring-binder.
Do you have any other tips for using pdf patterns? I didn't mention using a commercial printing shop to print everything off in one large piece. I'm not sure if it'd be cost effective - have you tried it?
Righto, best I get sewing!
* Sewaholic & Colette Patterns published checklists for using pdf patterns within a week of each other and both are great.